The Battle of Hartlepool - A "small" game of Pluie de Balles.
by Jorit Wintjes
I. Introduction
In January 2023, the Conflict simulation Group ran a Pluie de Balle wargame with 16 university students. One map of about 2.40m by 3m was used covering the area between Middlesborough, the mouth of the River Tees and the seaside town of Hartlepool. On the map, a blue team of nine students representing a French invasion force, faced stiff opposition by a team of seven students representing a hotch-potch of British units. The French team had an infantry division at its disposal, consisting of two infantry brigades - later supported by another infantry brigade - and four batteries of artillery; also under divisional control was a naval brigade and several batteries of heavy artillery. The French division was further supported by two independent cavalry brigades and a crack navy cyclist unit. On the British side, a crack navy brigade was tasked with defending Hartlepool, the main French objective, together with a brigade of French royalist volunteers, the Queen’s French Legion; later, they were further supported by a Canadian brigade. Also, an ad-hoc division made up from a colonial cavalry brigade and an Australian mobile infantry brigade was tasked with falling into the flanks of the attacker and thus disrupting the French attack.
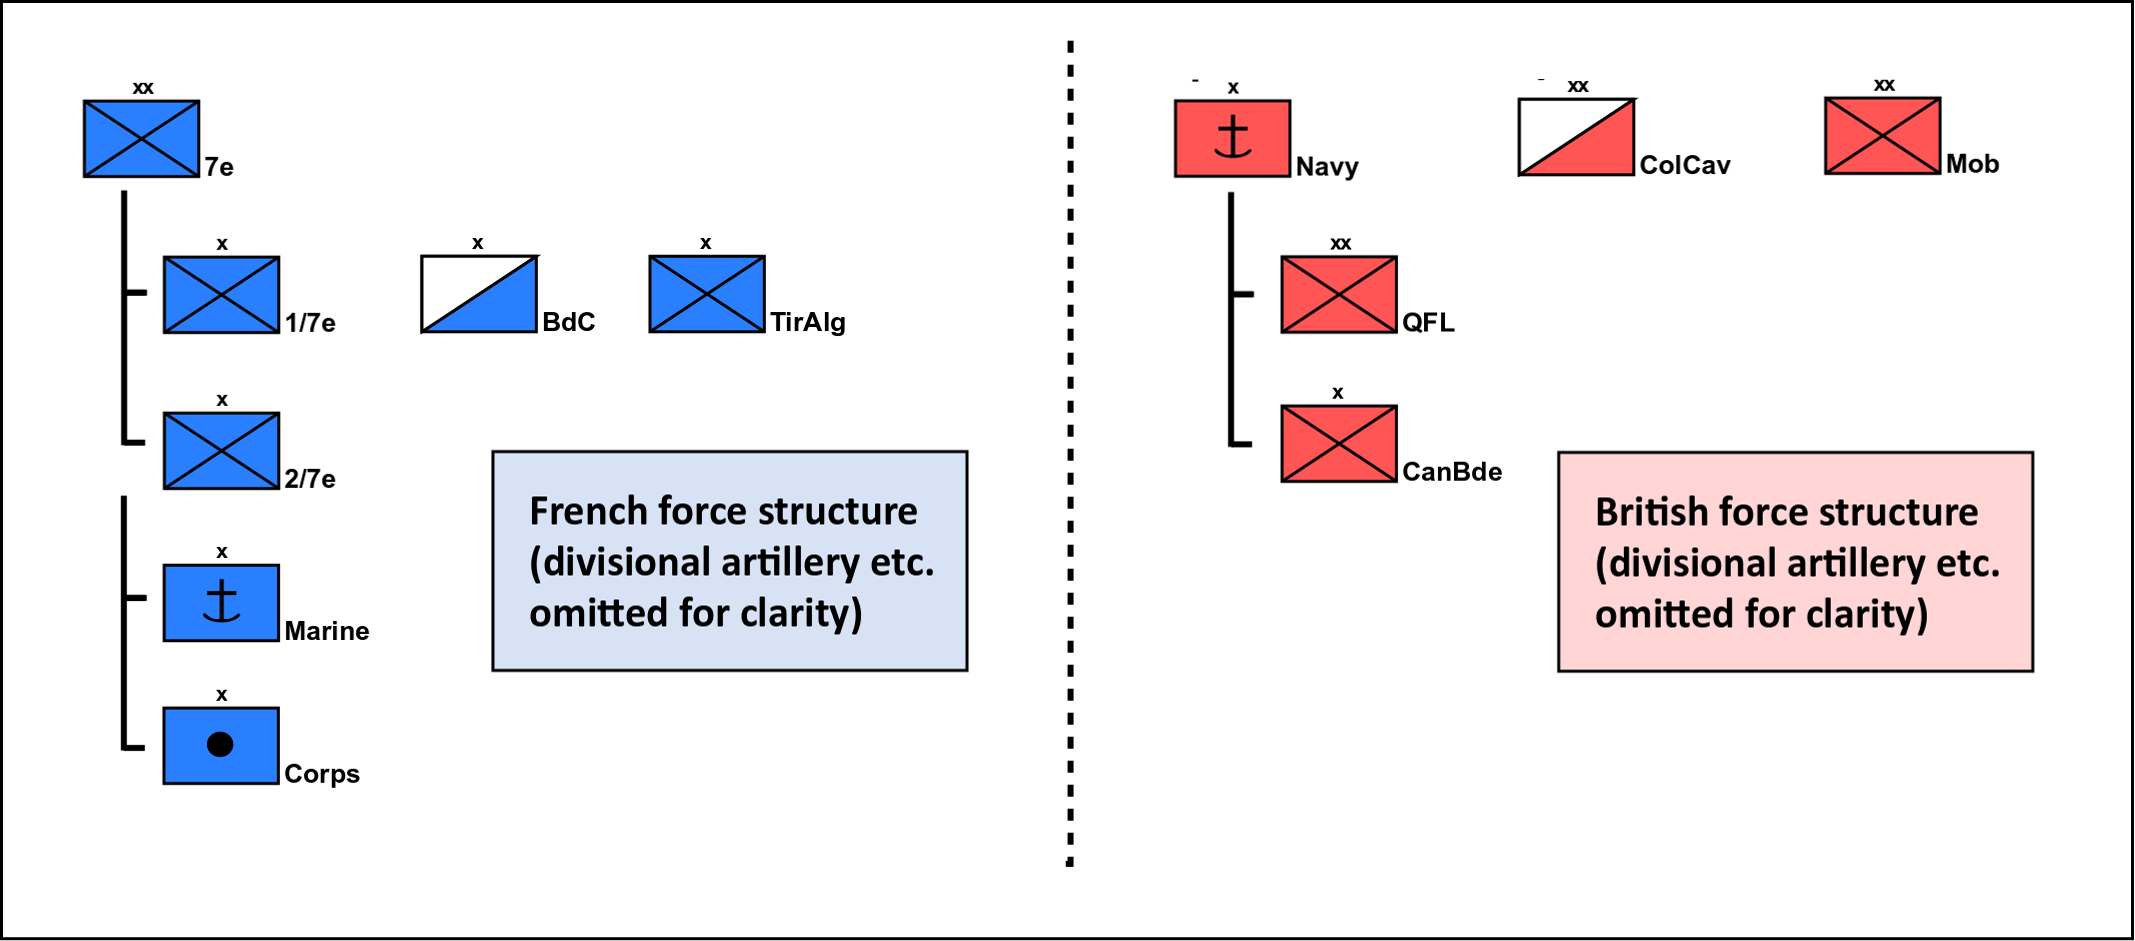
French and British force composition.
While both sides had clear objectives, they also faced considerable challenges. The French infantry division had to move slowly northwards towards Hartlepool from a starting line just north of Middlesborough, and soon it was wary about threats to its left flank.
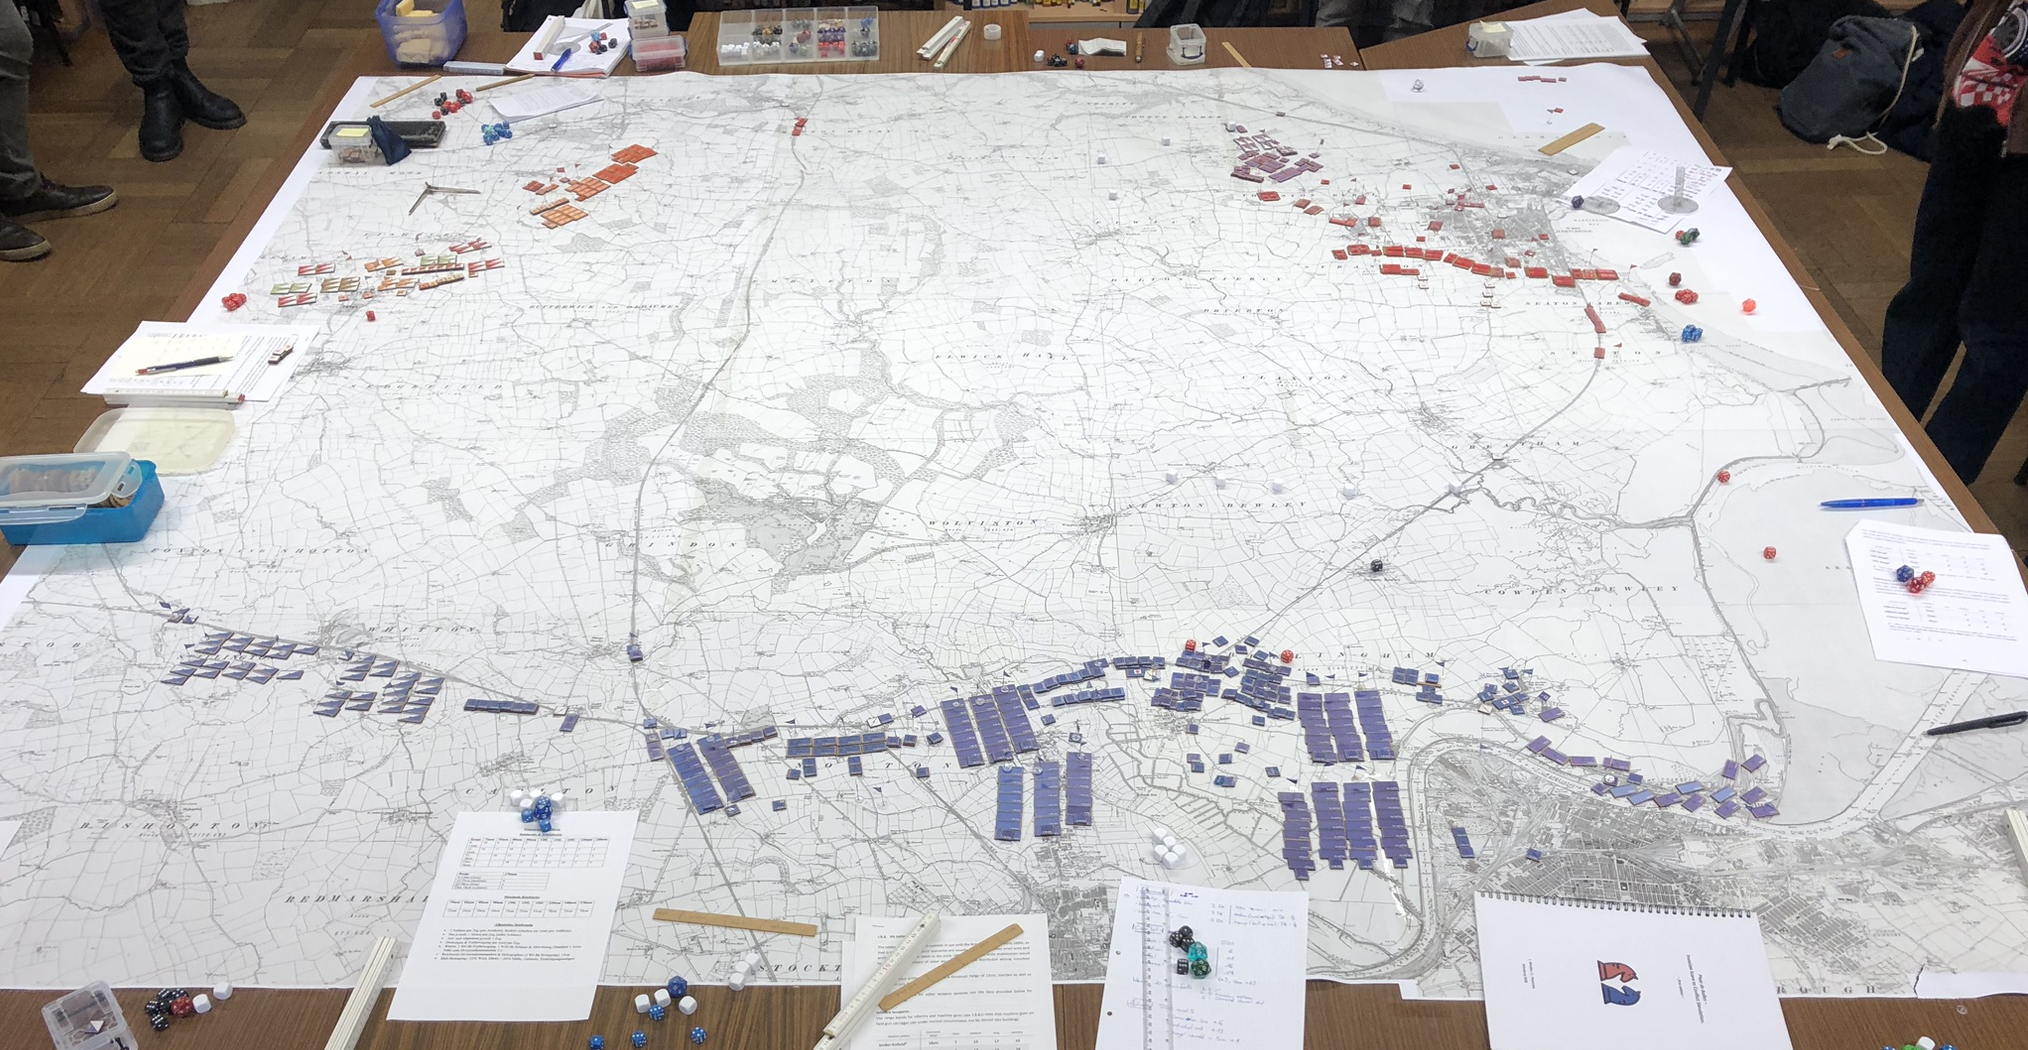
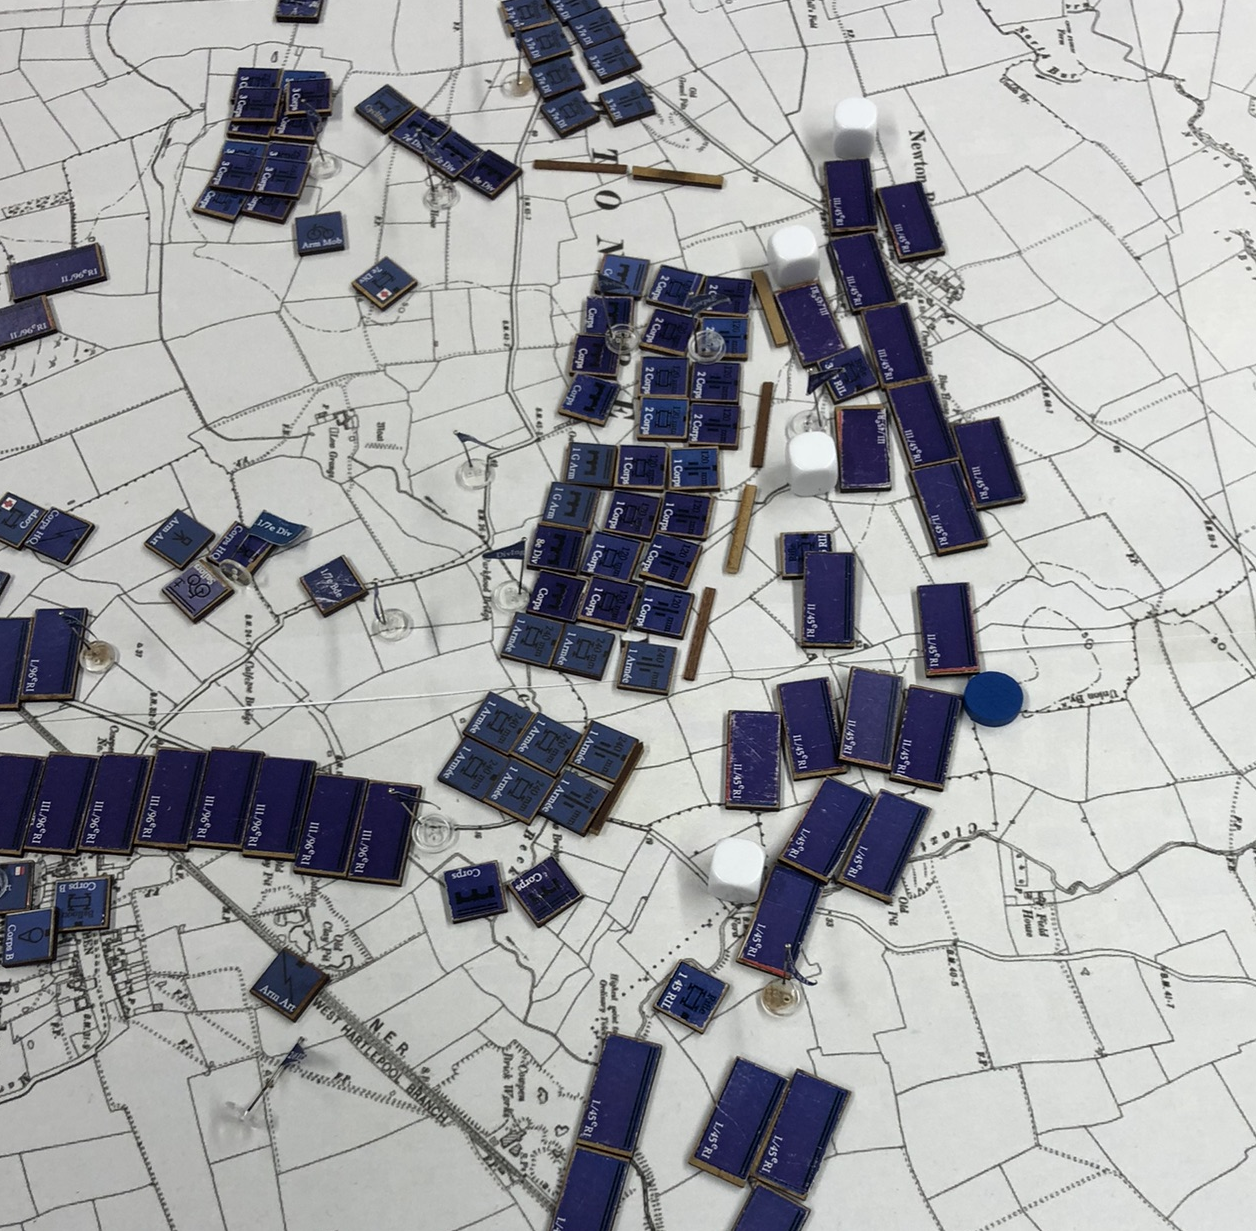
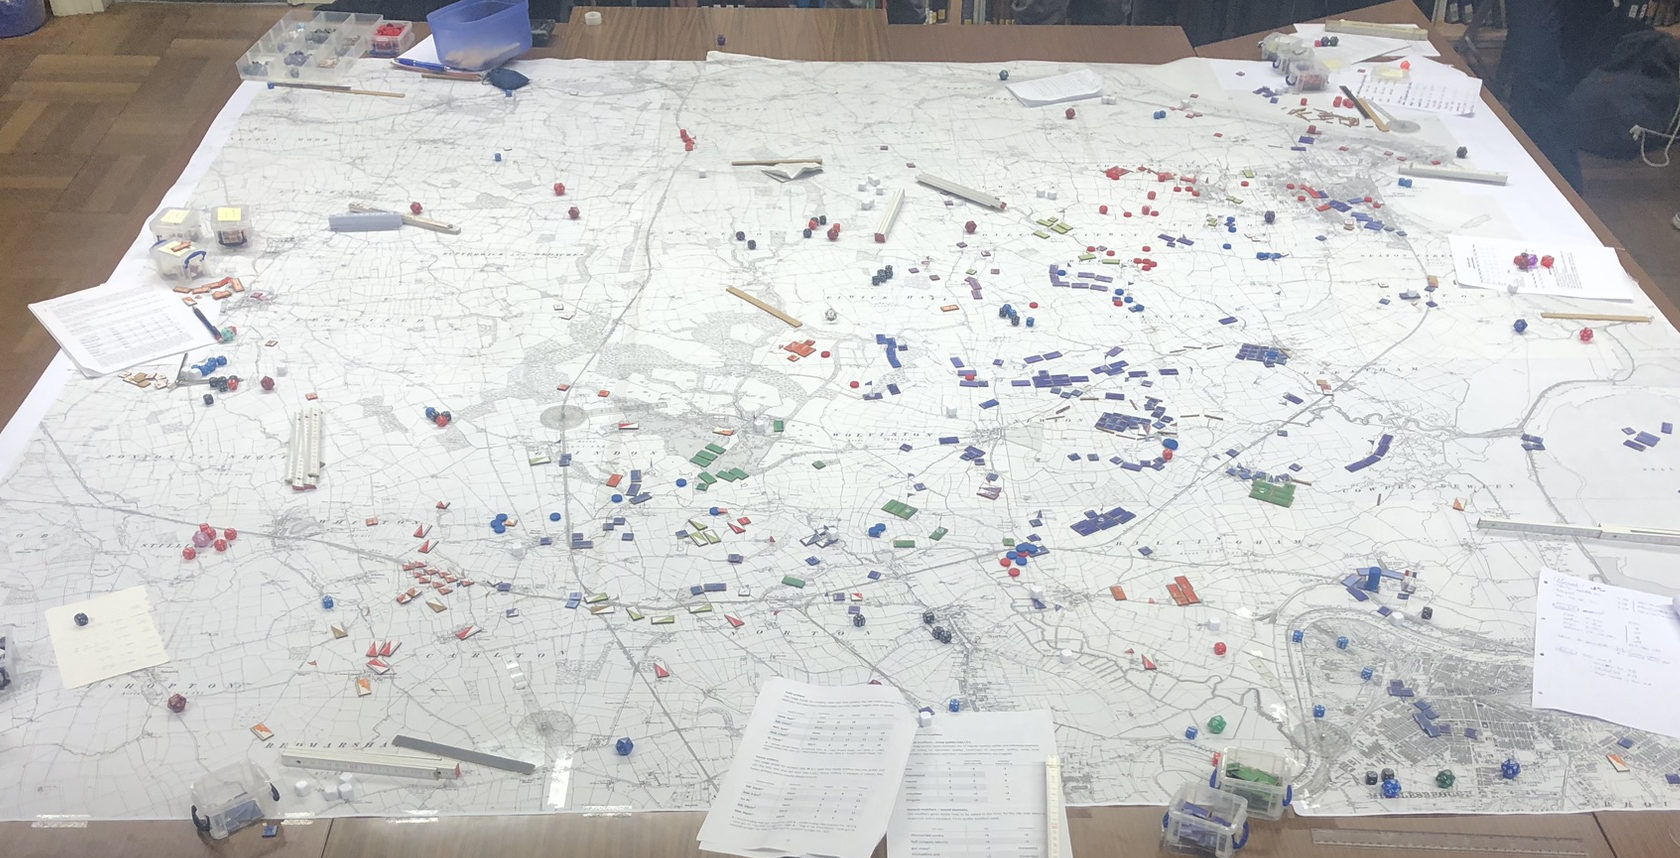
The overall situation at the beginning of the wargame at c. 1130.
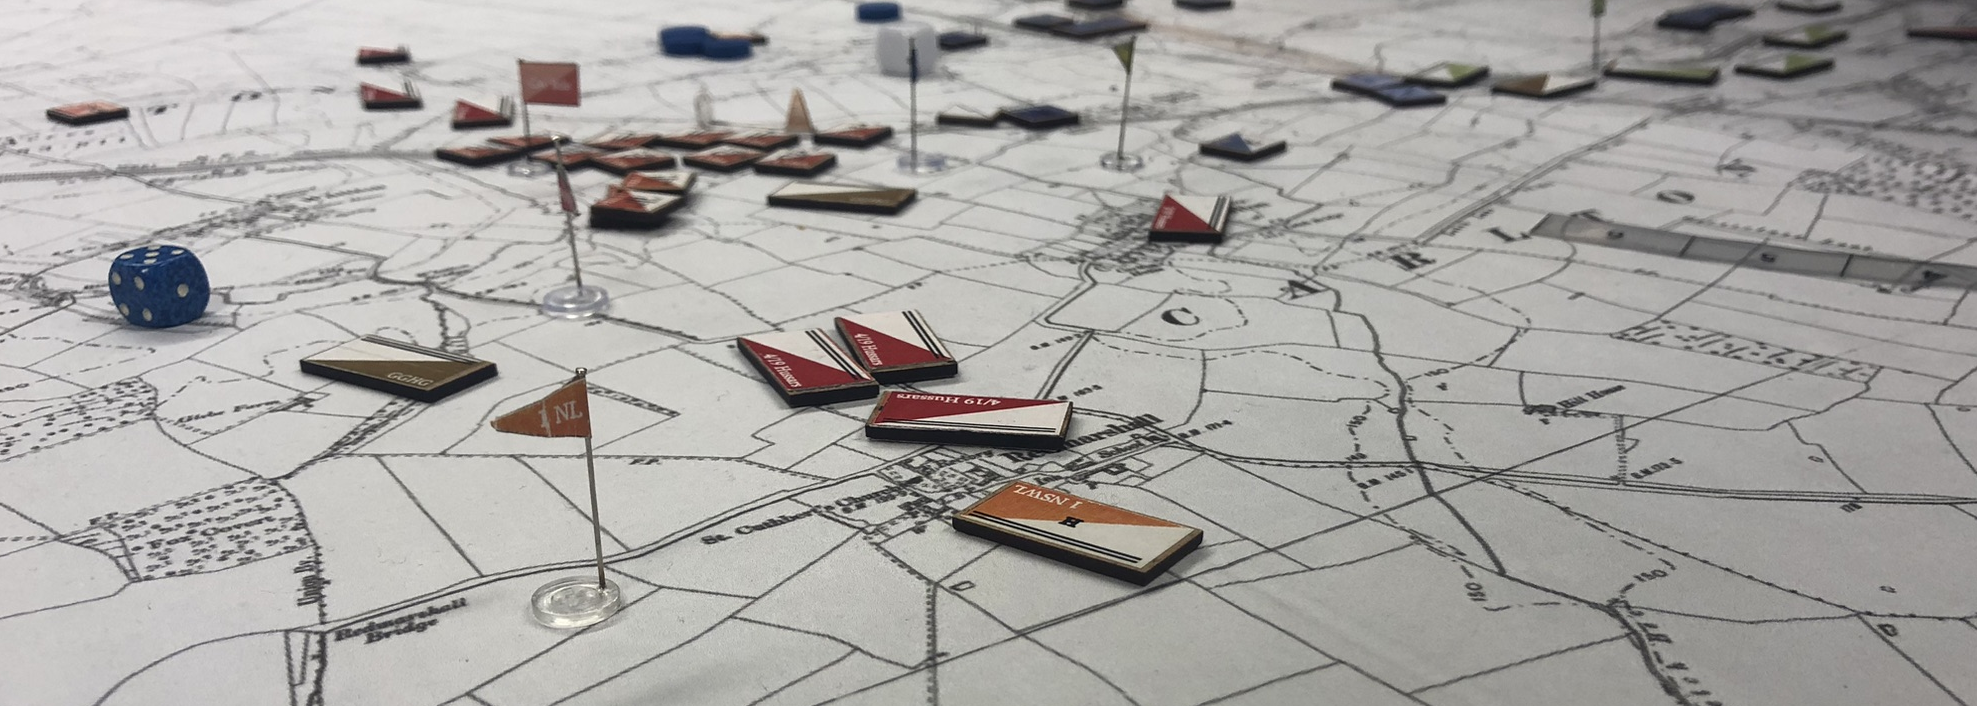
The French infantry division in its initial positions.
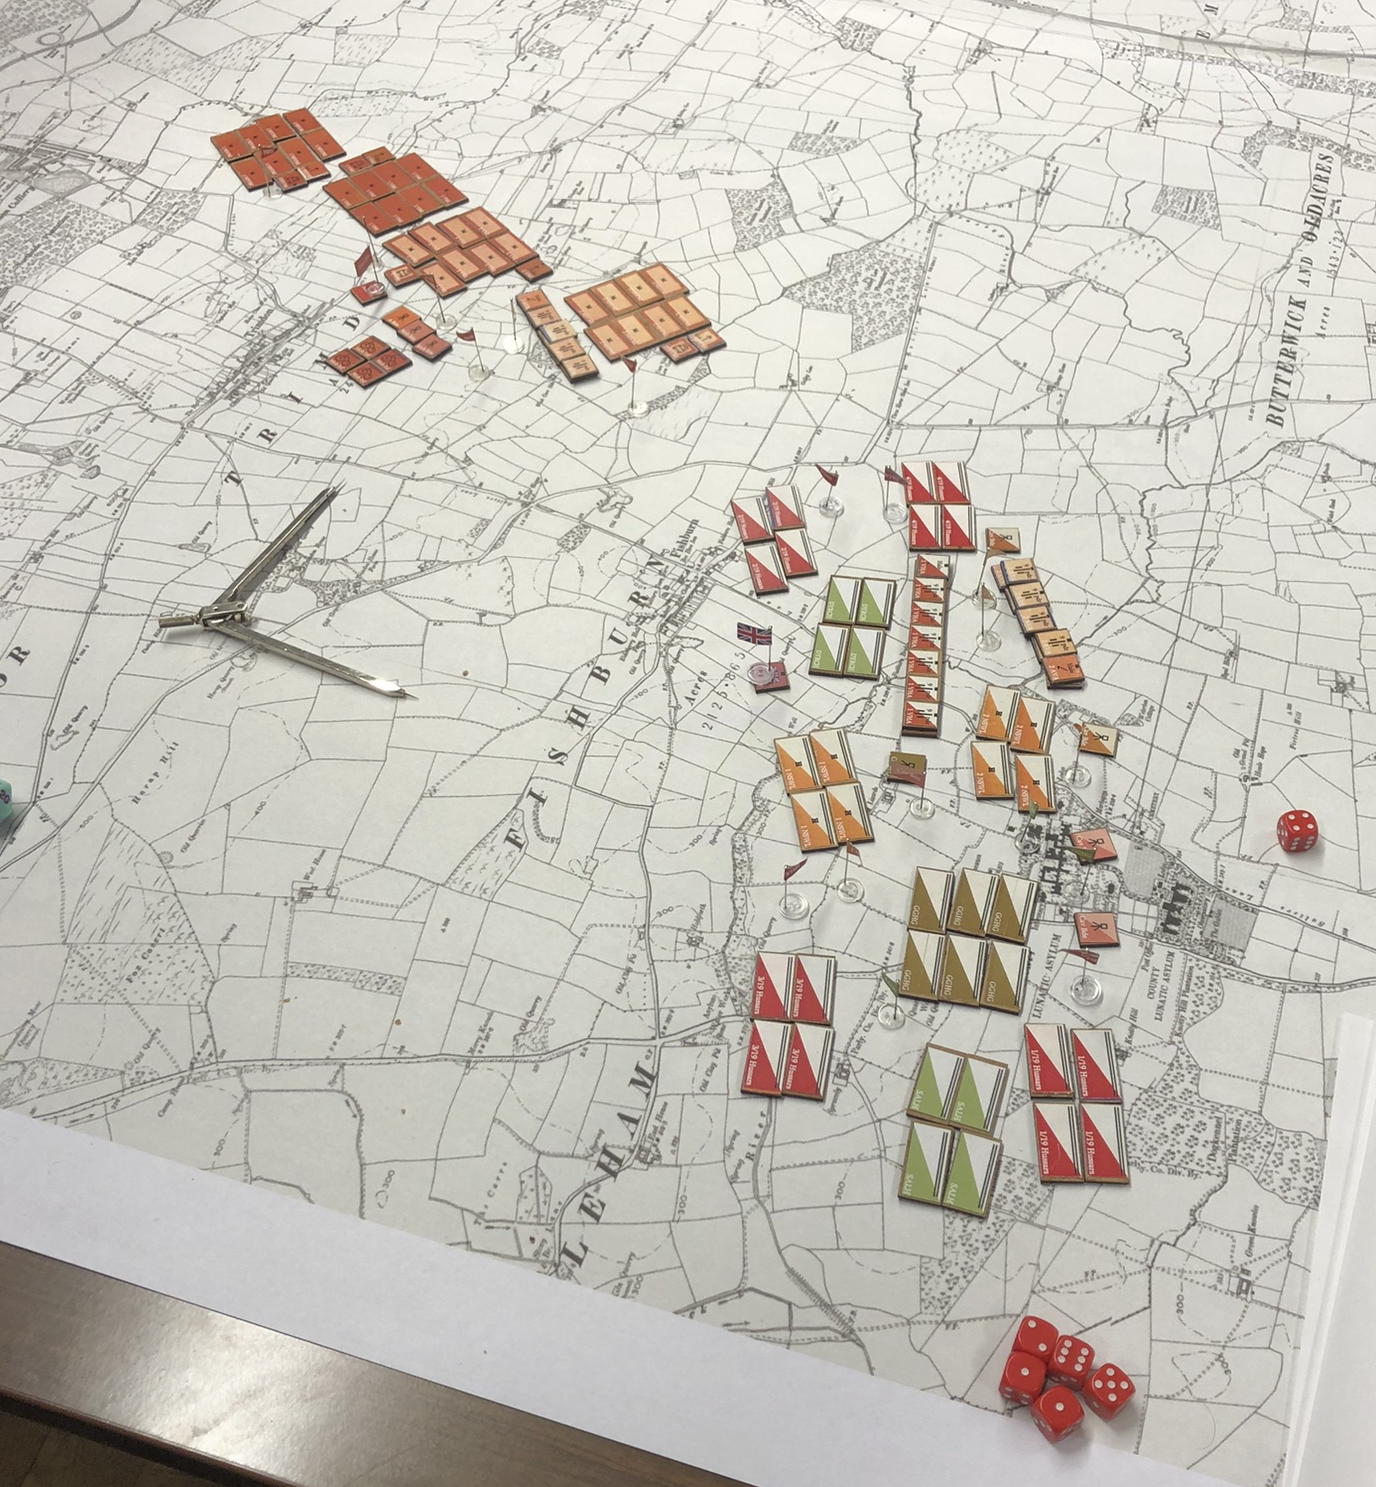
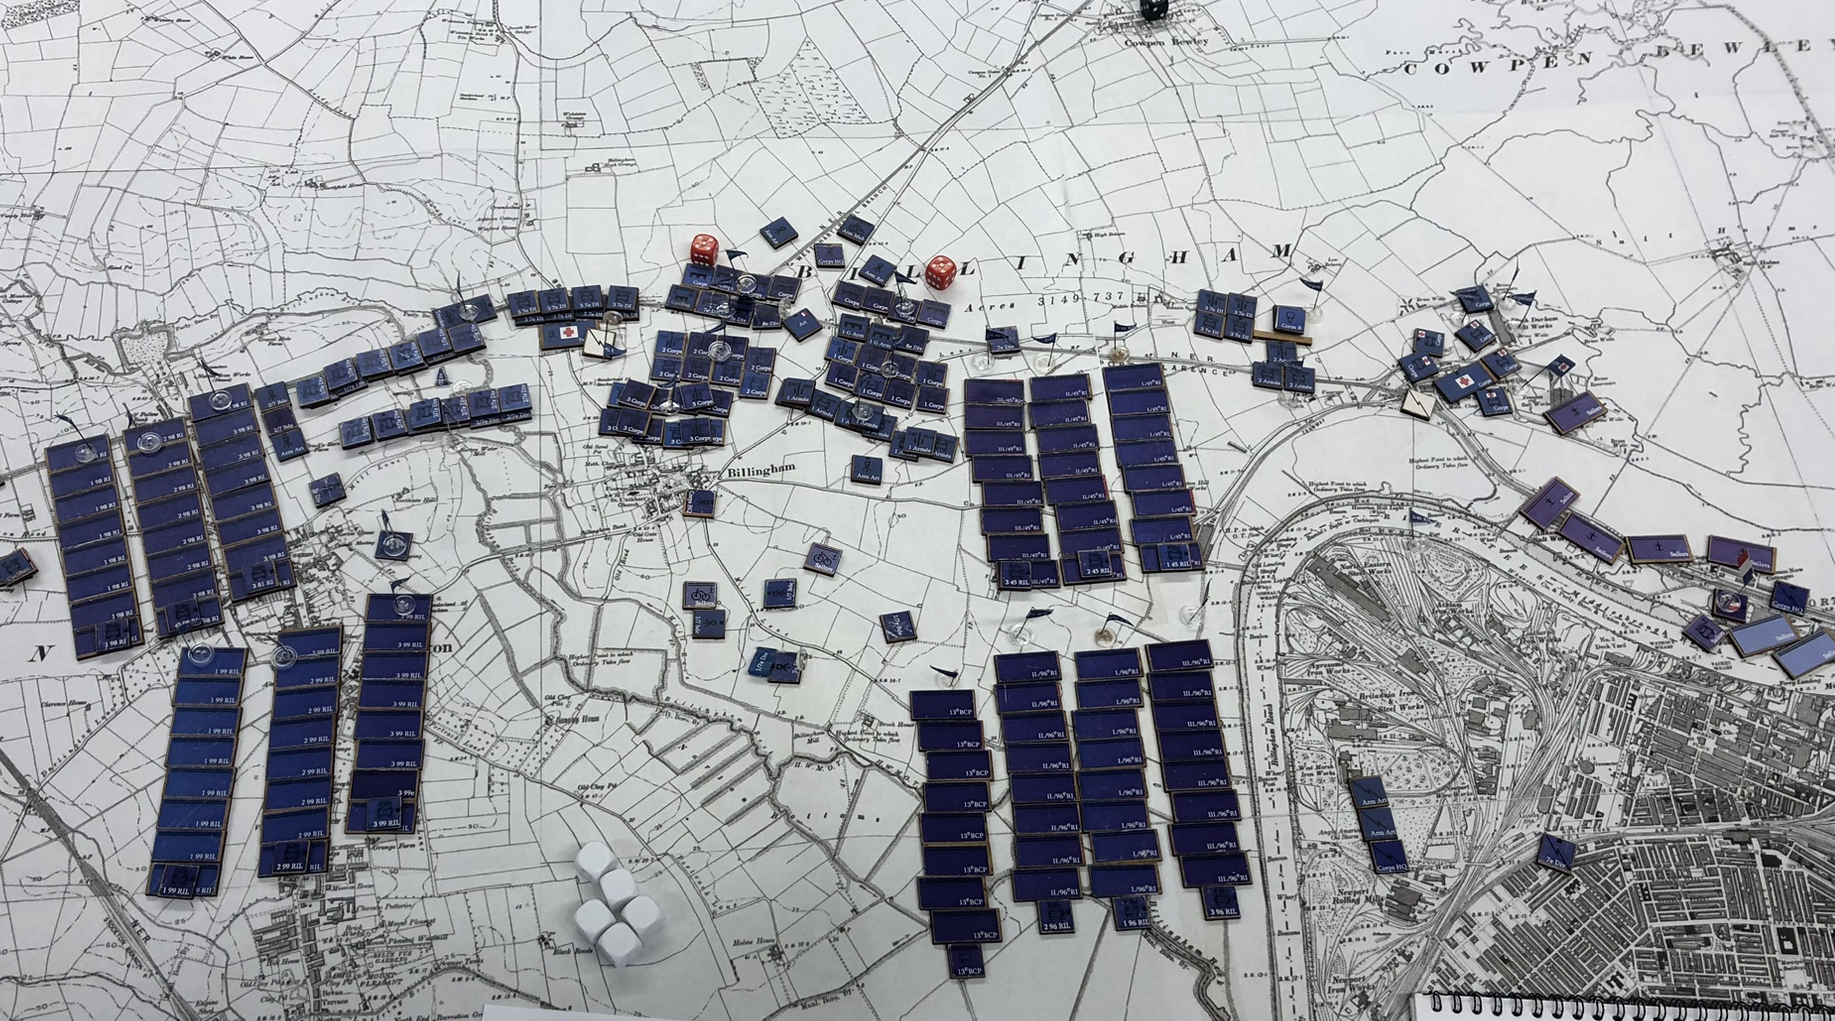
British mobile units in their initial positions.
Conversely, the British mobile brigades had to move quickly across the map, starting near the lovely-named village of Butterwick; in the process, they in turn would have to expose their right flank to French cavalry attacks; initially, a brigade of French cuirassiers was deployed near Carlton, eager to push northwards.
II. The course of the battle.
As is so often the case, initial estimates by the scenario designers about how things might play out proved to be significantly off the mark. Instead of moving across the map to attack the French infantry division, British mobile units charged nearly straight ahead right into the French cavalry and the naval brigade covering the left flank of the French infantry division.
Australian Mobile Brigade attacking the French line.
Soon, heavy fighting erupted around Wynyard Park, with the Australian mobile infantry trying to push through French lines. The British attack caused one French infantry brigade to slowly wheel around and take on positions covering the left flank of the heavy artillery, which could move unimpeded towards positions French engineers were already busy constructing.
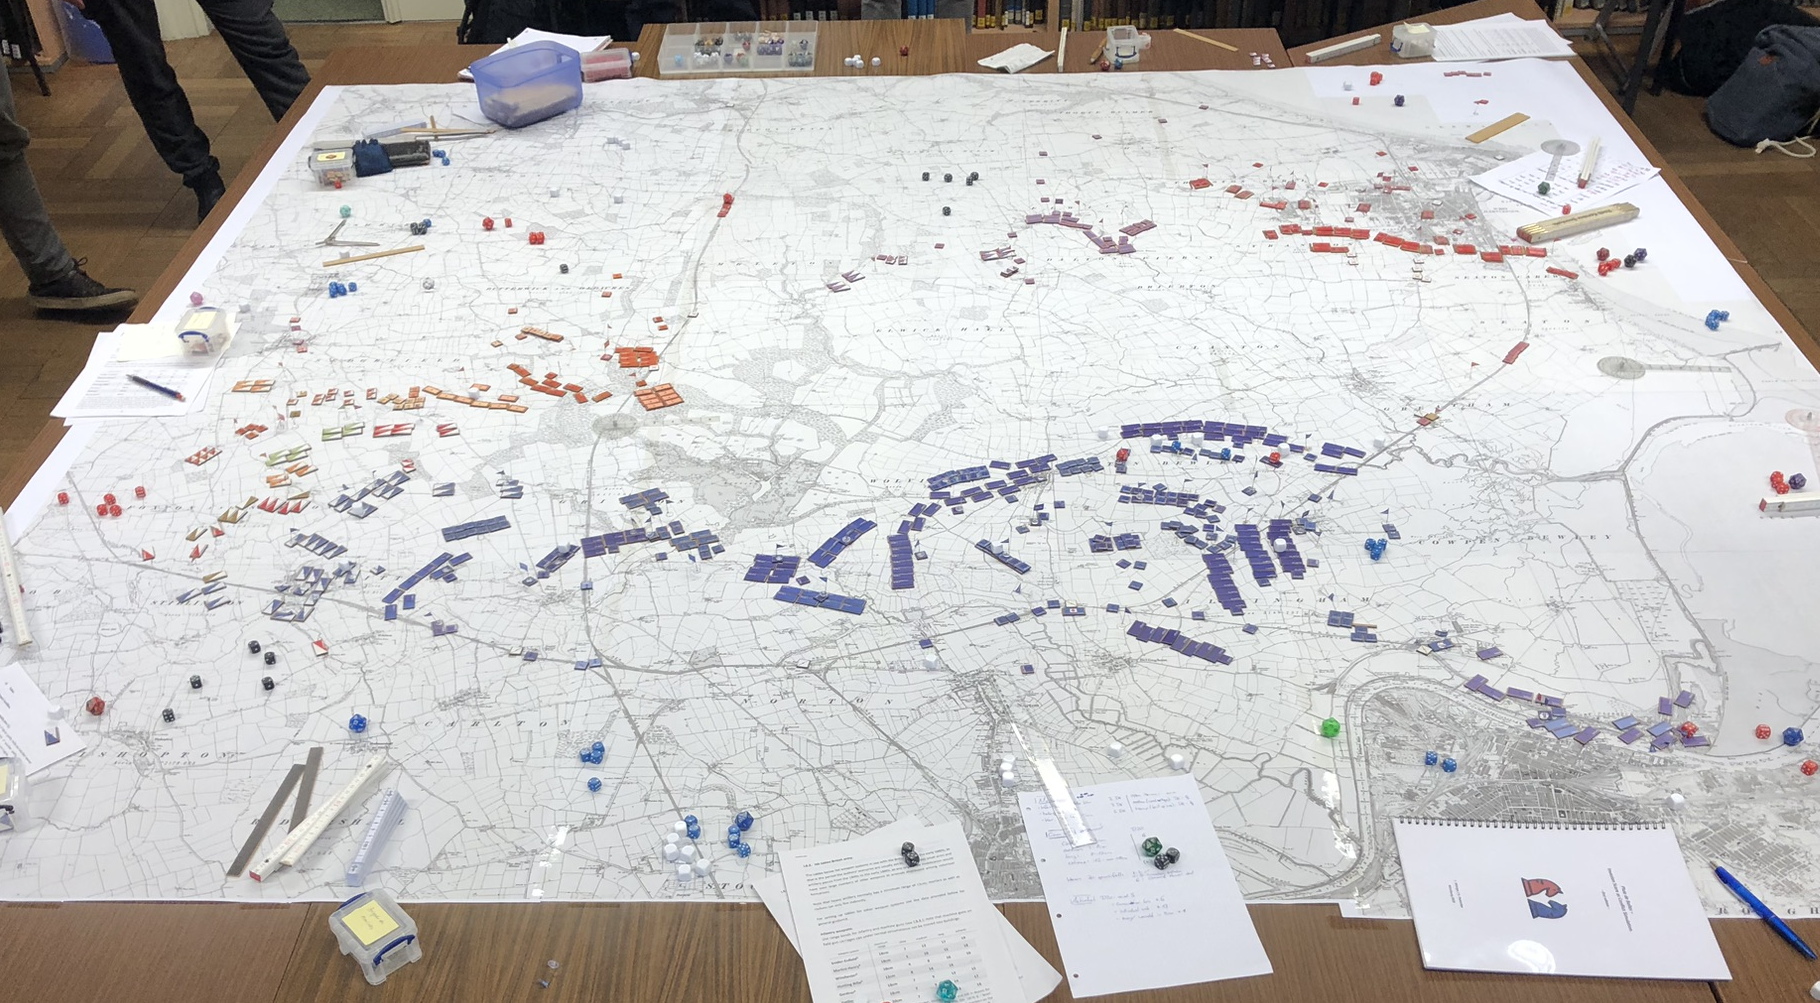
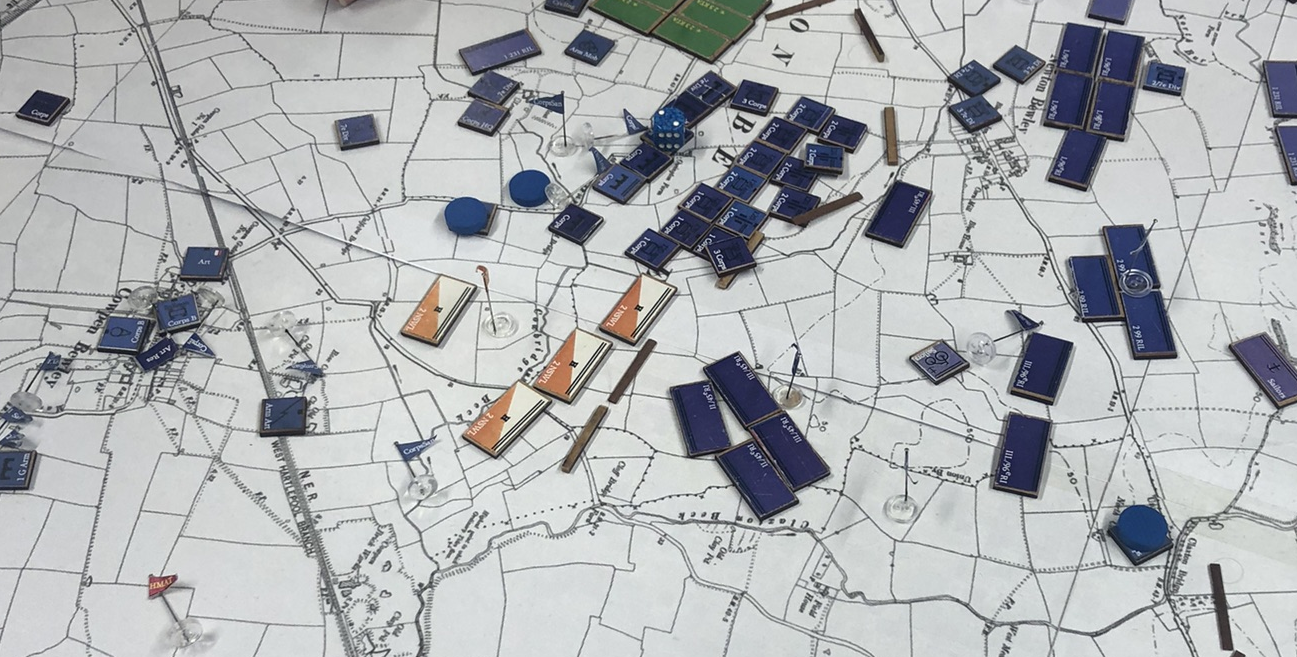
The overall situation at noon.
Although French artillery was steadily moving towards the position its engineers were preparing, after about two hours the situation on the left flank became decidedly unpleasant for the French. While the Australian mobile brigade suffered significant attrition, it managed to render the naval brigade hors de combat, and only the timely arrival of a brigade of experienced Tirailleurs Algériens prevented the Australians to actually break into the French rear.
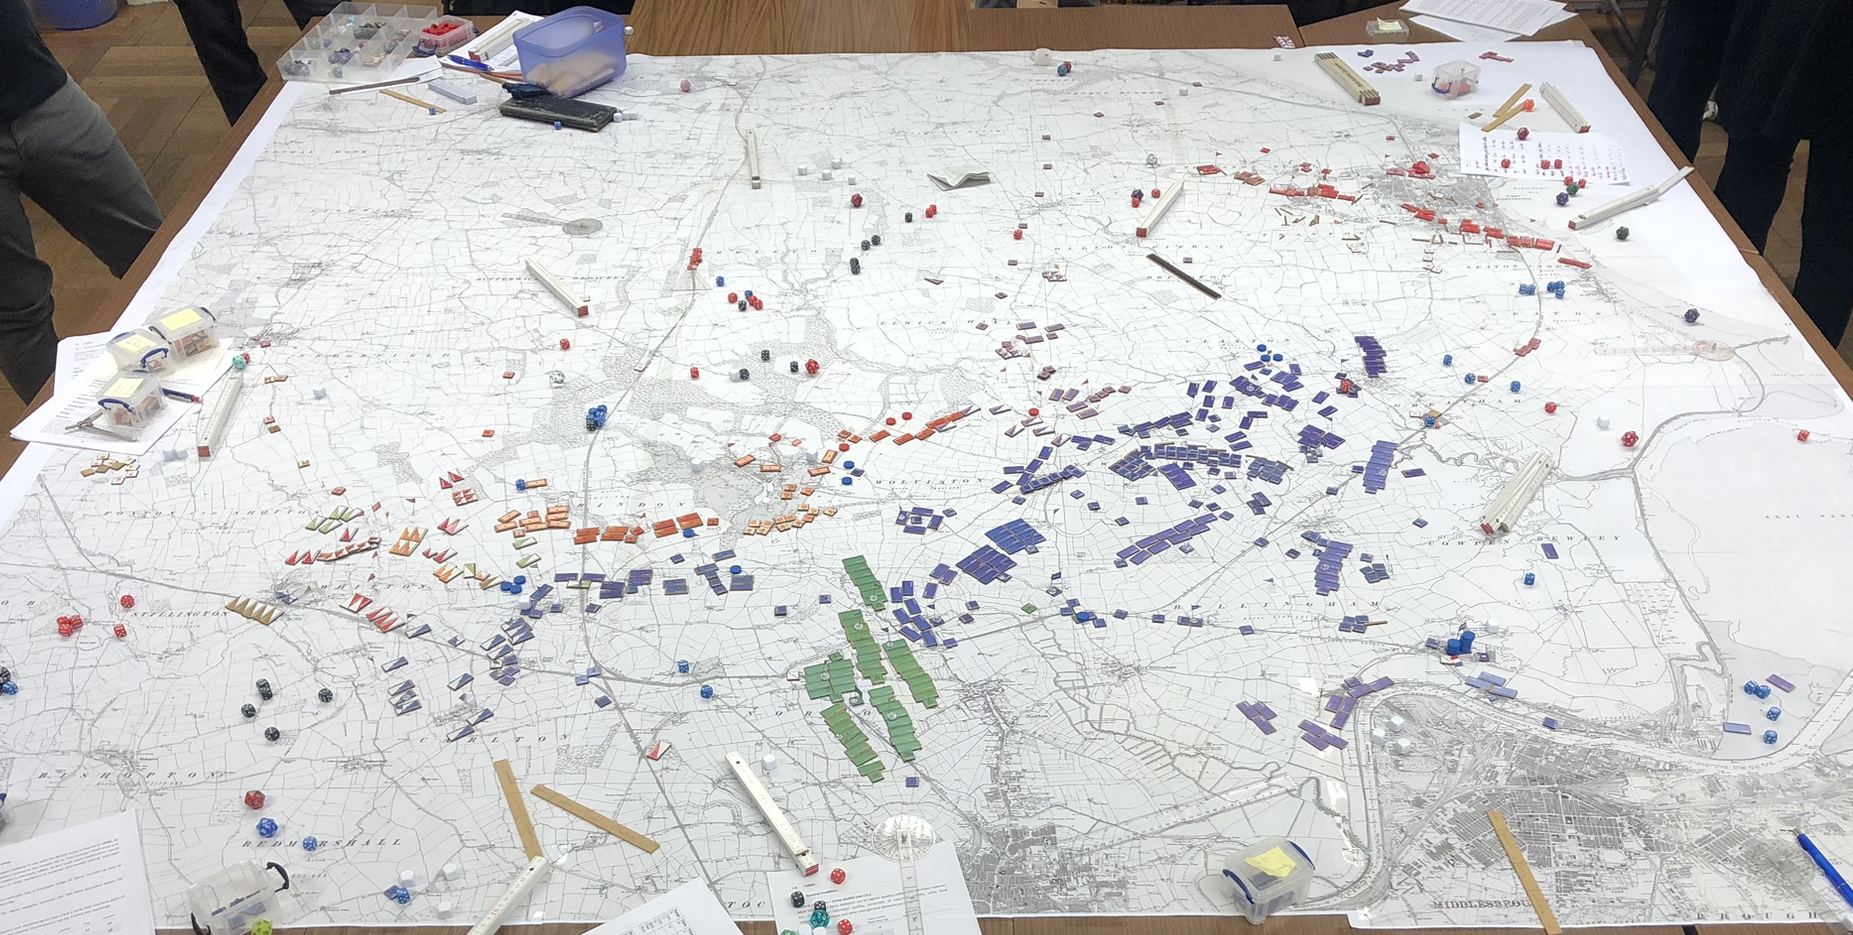
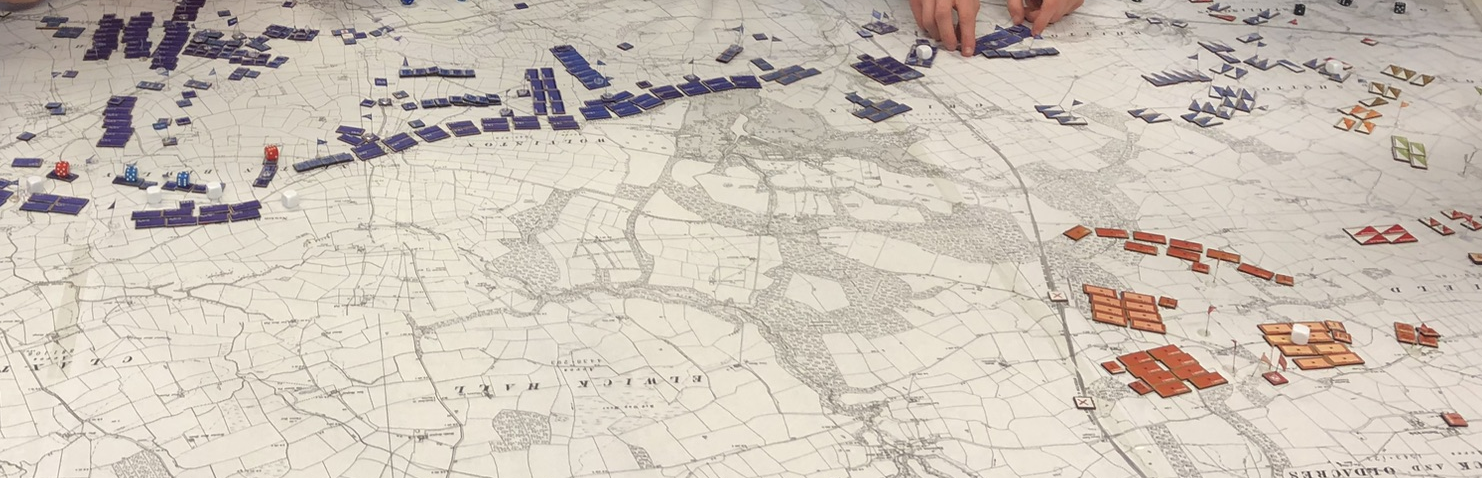
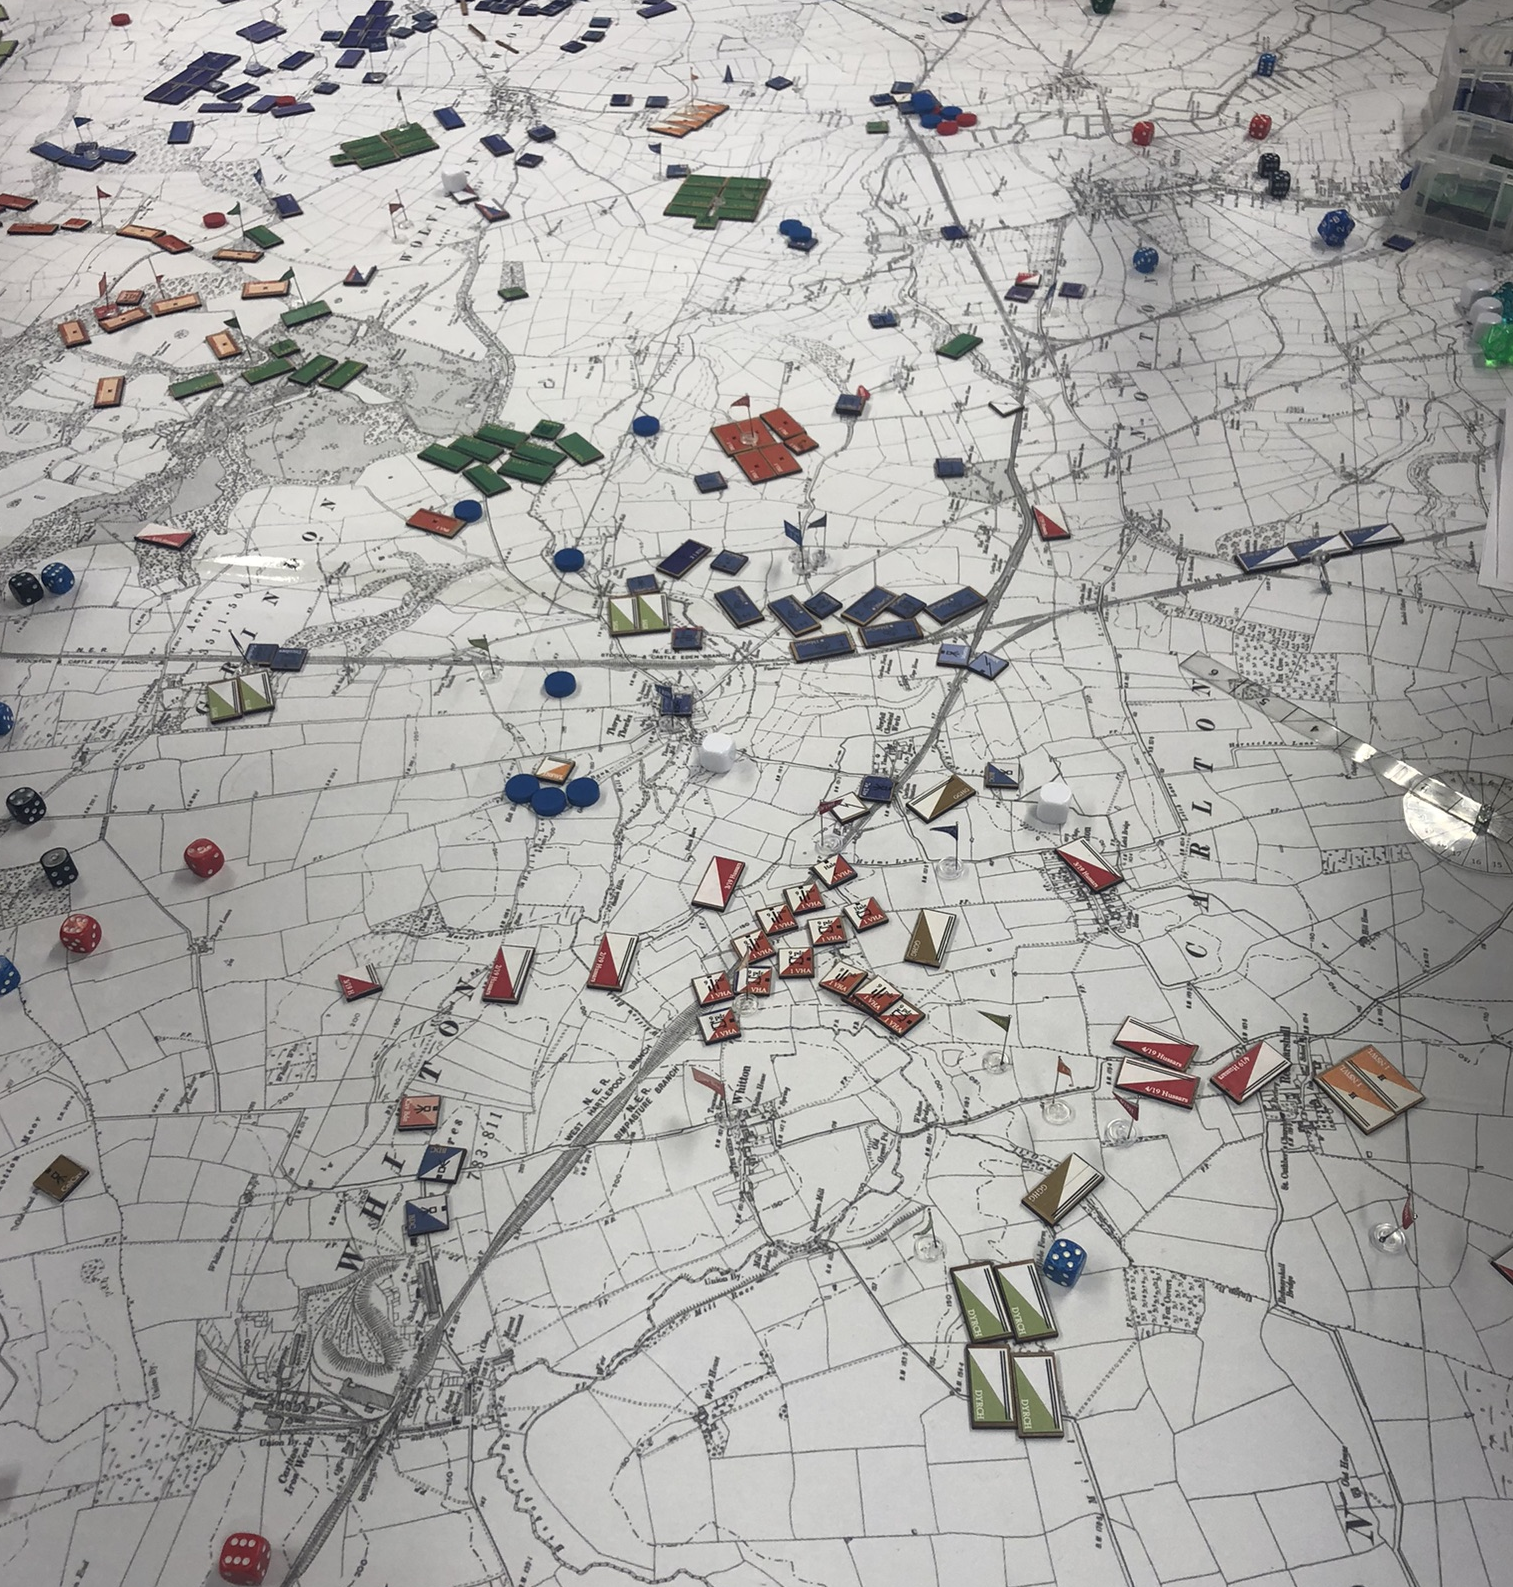
The overall situation at 1330, French Tirailleurs Algériens (green) arriving.
Further west, British cavalry had managed to all but destroy its opponents against very limited losses; again, the second cavalry brigade arrived just in time to avert disaster.
While the French left was teetering on the brink of collapse, French heavy artillery was finally making itself felt. From positions near Greatham it had started shellung Hartlepool, and soon the 220mm and 240mm mortars started to take their toll, methodically reducing British field fortifications and causing considerable casualties.
French heavy artillery in position.
At that point, about three hours into the battle, victory seemed to be possible for the French. And indeed soon the French infantry division prepared for an attack on Hartlepool. While a Canadian brigade arrived early in the afternoon in order to bolster the ranks of the defenders, the French attack seemed to be nearly unstoppable in the face of constant bombardment by heavy artillery.
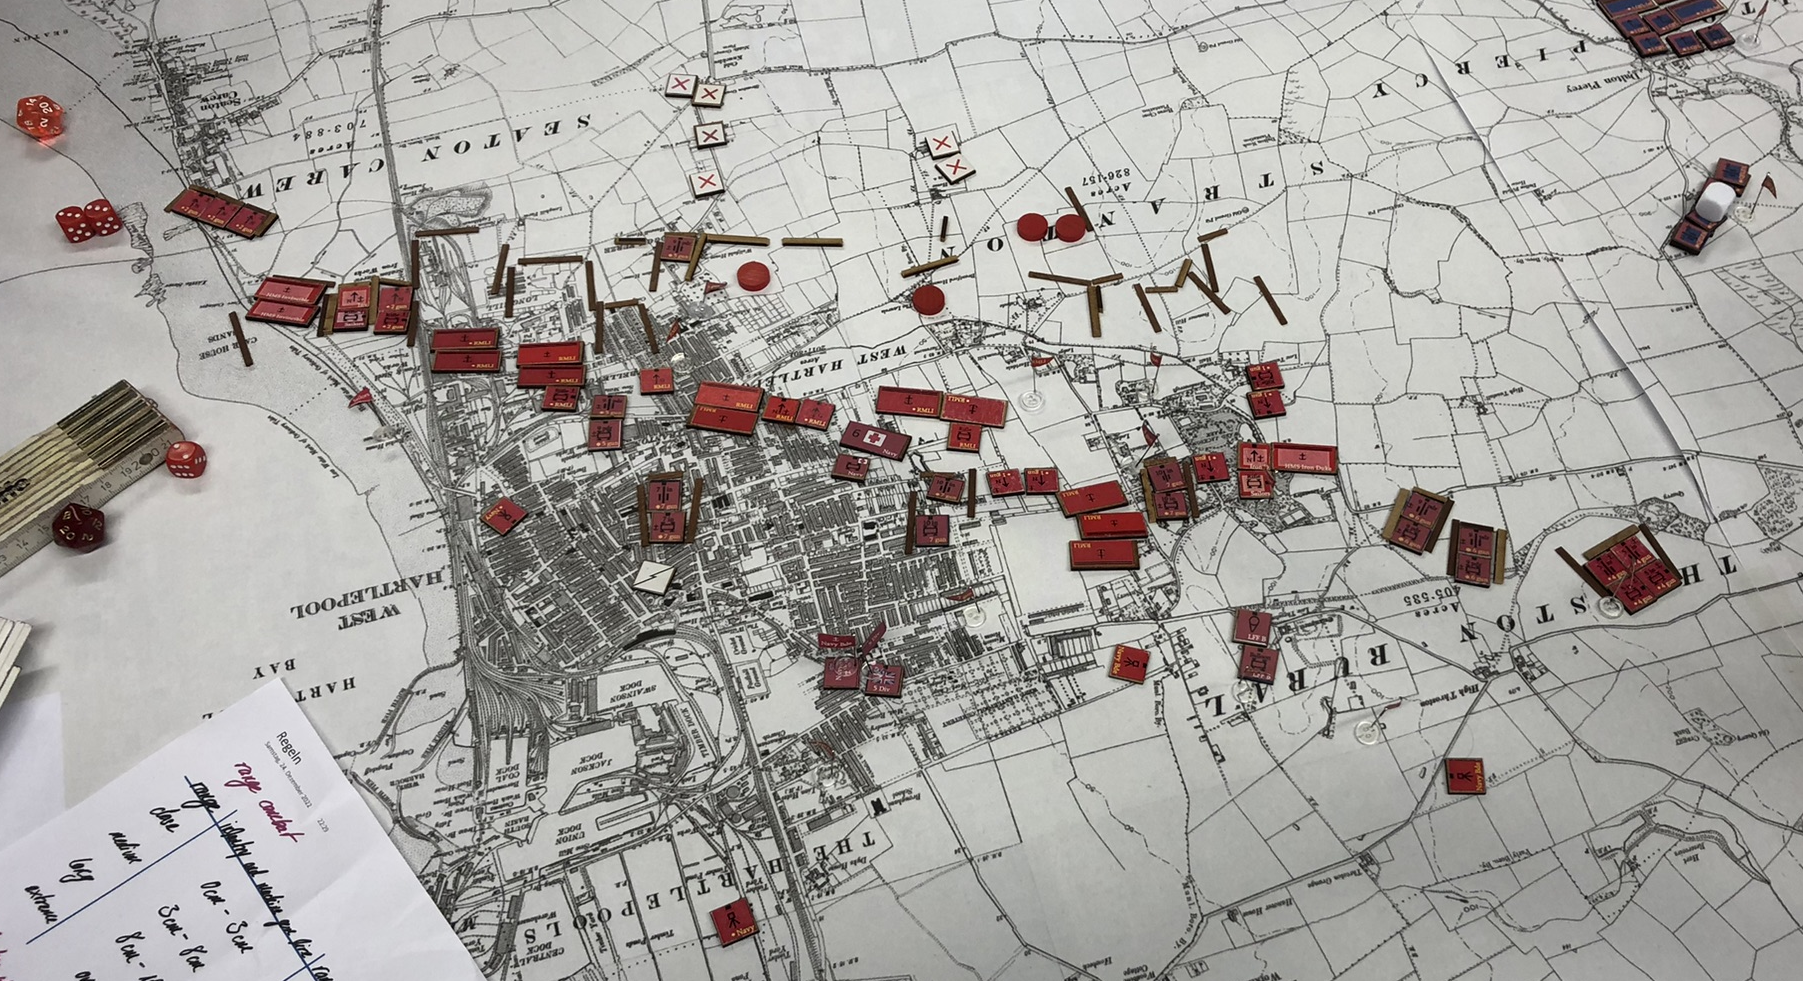
Initial effects of French heavy artillery fire - the Navy starts to take casualties.
Yet, just as victory seemed to be within grasp, the French left flank finally collapsed. Several rounds of confused fighting for Wynyard Park had left the Australian mobile brigade with about a quarter of its initial strength, but completely broken up the Tirailleurs Algériens, creating gaps in the French line.
The French left is collapsing.
Into one of these gaps charged a squadron of New South Wales Lancers, hell-bent on taking on the French heavy artillery. French engineers frantically tried to protect the rear of their artillery position by erecting new obstacles, but it was too late.
The lancers inside French artillery positions.
The lancers attacked straight through the engineers into the artillery position, taking out a battery of heavy artillery before wheeling around to face the remaining batteries. At the same time, having completed its task of eliminating the French cavalry, British cavalry was reorganizing for a major push into the French rear.
The overall situation at 1600.
At that point, after nearly five hours of intense action, the umpire decided to call it a day. Against huge odds the British had snatched a victory from the jaws of defeat, although at a heavy price. Of all the units the British side had started with, only the cavalry brigade was still substantially intact, having lost about 10% of its strength. All other units were virtually destroyed and incapable of any further action. On the French side, most units had also suffered debilitating losses; in contrast to the British side however the French faced the prospect of having a cavalry brigade operating in their immediate rear, without any means to effectively defend themselves against this threat. The umpire therefore declared a minor British victory; the British side had prevented the French side from successfully completing its mission, but suffered enormous losses in doing so.
III. Some final thoughts.
The wargame once again showed that scenarios can veer off the intended path pretty soon if participants decide not to stick to the plan - or to what is operationally useful. In this case the British side initially threw away its chance to slow down or even stop the French advance, trying to achieve tactical success on the French left flank; they should have been punished for it, but by a combination of luck and sheer bloody-mindedness they managed to prevail in the end.
Due to the small number of participants - for a Pluie de Balles wargame that is - no staff teams were present on both sides, and only one map was used. The wargame still turned out to be a hectic and stressful experience for everybody involved, and even if forces on both sides totalled only to about 20,000 foot, 3,000 horse and around 70 guns, with around 500 tokens, flags, pennants and markers on the table it still proved to be quite an overwhelming experience.
Finally, the participants deserve praise, many of whom had never taken part in something like Pluie de Balles before. While the students had some training sessions in the weeks leading up to the big wargame, these were restricted to 90 minute time slots, which is significantly less effective than one longer training session. Even so, they learned quickly which - while the fairly simple nature of the rules also plaid a role - is mostly due to the commitment of the participants. Once again, they have proven that the greater commitment and immersion, the better the overall wargaming experience.